


Table of contents
Jenkins is often run in its own process as a stand-alone program. The Winstone Jetty servlet container wrapper is included in the Jenkins WAR file, which may be launched on any platform or operating system running a supported version of Java.
Jenkins can theoretically run as a servlet in a conventional servlet container like Apache Tomcat or WildFly, however, this has not been extensively tested and comes with a number of limitations.
There are two most methods to install Jenkins on Server/Instance
Jenkins as a Service
In this Jenkins install as a service. It is a package of Jenkins that includes a web server by using the systemctl command you can start the Jenkins services
#switch to root user
sudo su -
#Installation of Java
yum install java-11-openjdk -y
#Adding Jenkins Repository to yum
wget -O /etc/yum.repos.d/jenkins.repo \
    https://pkg.jenkins.io/redhat-stable/jenkins.repo
#Importing key
sudo rpm --import https://pkg.jenkins.io/redhat-stable/jenkins.io.key
#upgarde packages
yum install upgrade
#installing jennkins
yum install jenkins -y
#starting  jenkins as service
systemctl daemon-reload

Make sure your port 8080 is open to run Jenkins-master.
Your Jenkins Master service URL is http://{IP addess}:8080/

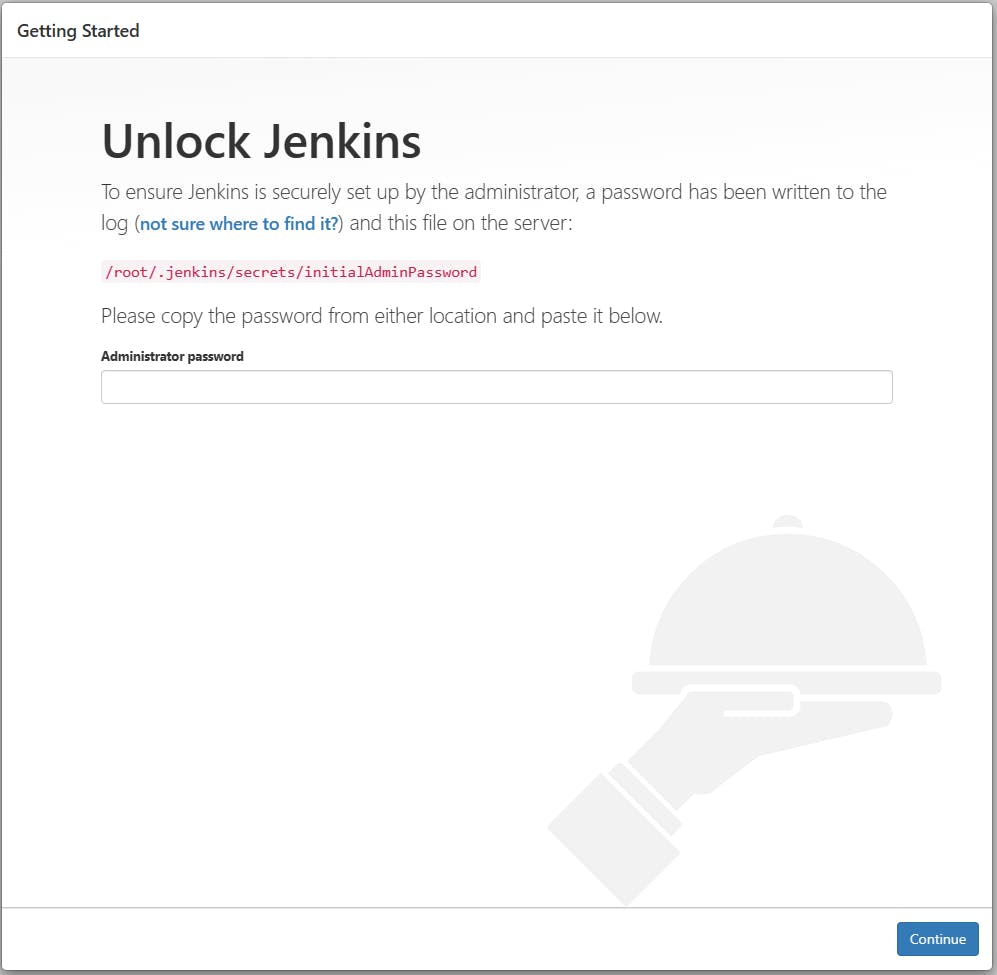
It is a one-time process when you install Jenkins the first time.
cat /var/lib/jenkins/secrets/initialAdminPassword

After entering the password click on Installed suggested plugins.
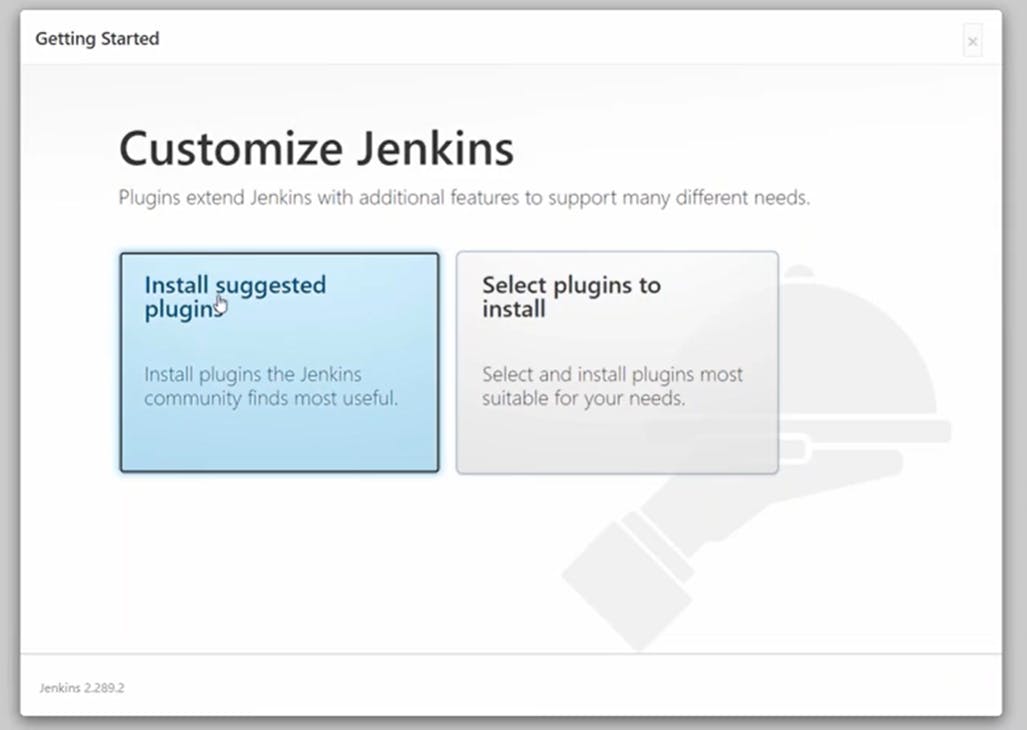
Jenkins installs some most used plugins or you can customize them as well by clicking on select plugins to install or after installation you can install those as well.
Till this step, there is a difference in both ways of installation. For further steps, everything will be the same in both ways. The only change at Jenkins directory path.
Jenkins as Application
To use Jenkins as an application you need to install Java and need a web server to run Jenkins master.
yum install java-1.8.0-openjdk.x86_64 -y
#go to your application dir where you want to install jenkins
cd /mnt
#instaltion of tomact web-server
wget https://dlcdn.apache.org/tomcat/tomcat-9/v9.0.72/bin/apache-tomcat-9.0.72.zip
#unzip the application
unzip apache-tomcat-9.0.72.zip
#deleting zip file
rm -rf apache-tomcat-9.0.72.zip
#to install jenkins we have go to Tomact webapps/ folder nd put jenkins.war file there.
cd apache-tomcat-9.0.72/webaaps/
#downloading jenkins war file
wget https://get.jenkins.io/war-stable/2.346.3/jenkins.war
#starting tomcat server
#if you not given execution permission to tomact folder then
chmod -R 777 apache-tomcat-9.0.72
#to start tomcat
cd apache-tomcat-9.0.72/bin/
#executing startup.sh file
./startup.sh

Make sure your Port 8080 is open to run the Tomcat server.
Jenkins Master Application URL: http://{IP address}:8080/jenkins/

After entering the password click on Installed suggested plugins.

Jenkins installs some most used plugins or you can customize it as well by clicking on select plugins to install or after installation you can install those as well.
Till this step, there is a difference in both ways of installation. For further steps, everything will be the same in both ways. The only change at Jenkins directory path.
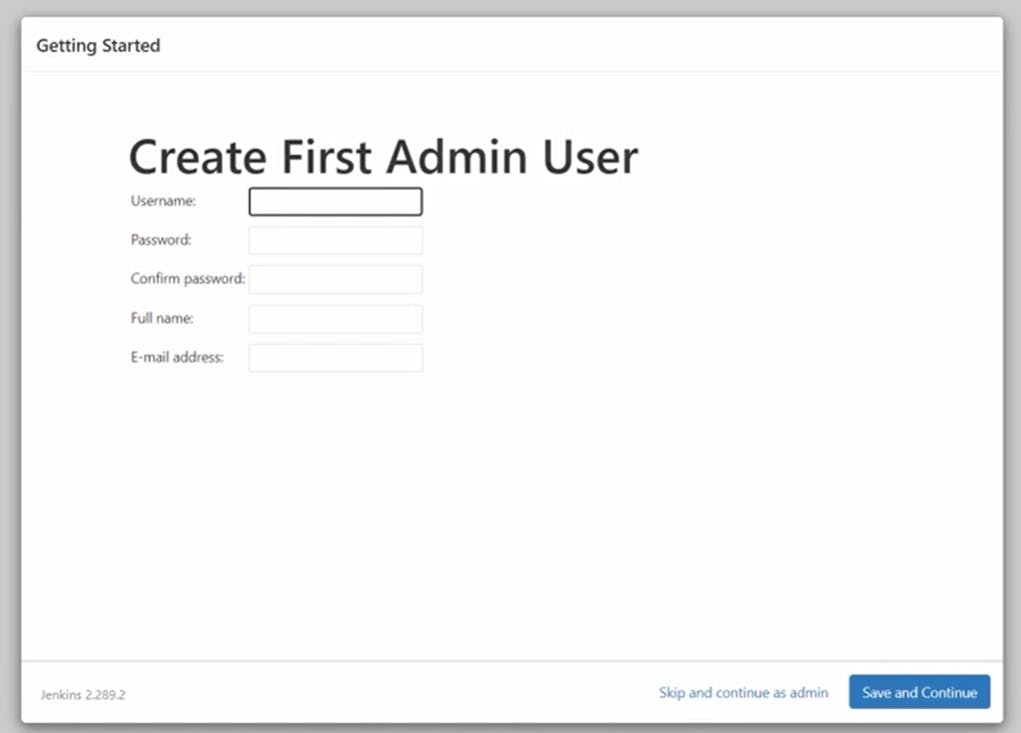
After installation of plugins, it prompts you to create the admin user, then click save and continue
After that, if your organization has specific private or public IP you can mention it here in Jenkins URL then click on save and Finish

After that click on the start using Jenkins
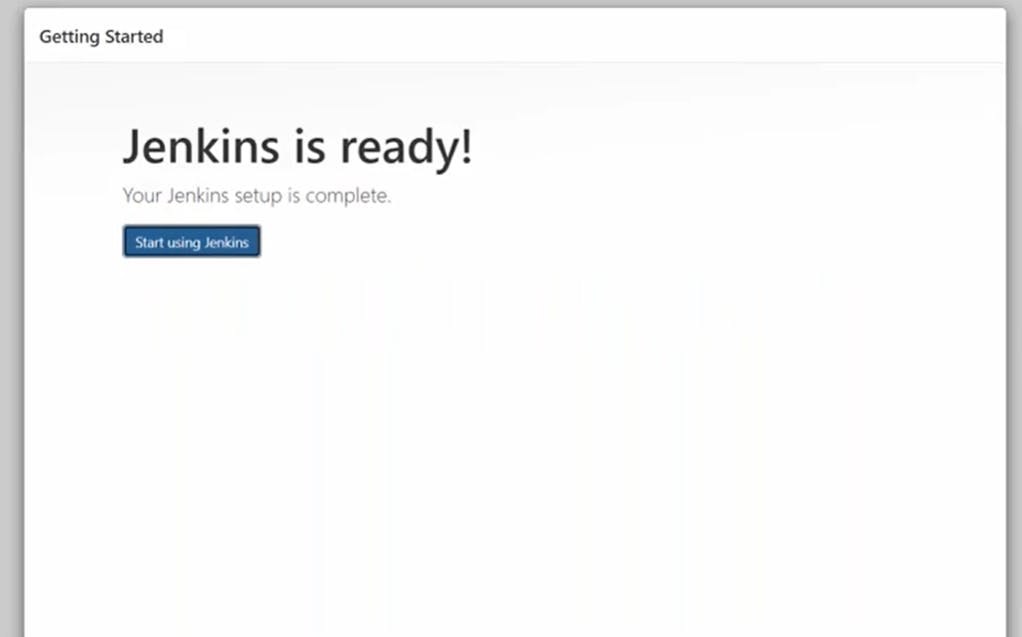
That's it. Here your Jenkins Master is Up and running...

Thank you, You are awesome!!!