


Open and Login Jenkins Master and click on Manage Jenkins

In Security click on Configure Global Security

Scroll down In Agents TCP port inbound agents >> select Fixed mention port number.

Apply and Save it
To Add Slaves/Nodes/Agents click on Manage Node and Clouds

Click on New Node

Give the name to the node and select the Type then click on Create

Before going ahead, In your slave/Aget/Node same version of Java or a compatible version of Java must be installed.
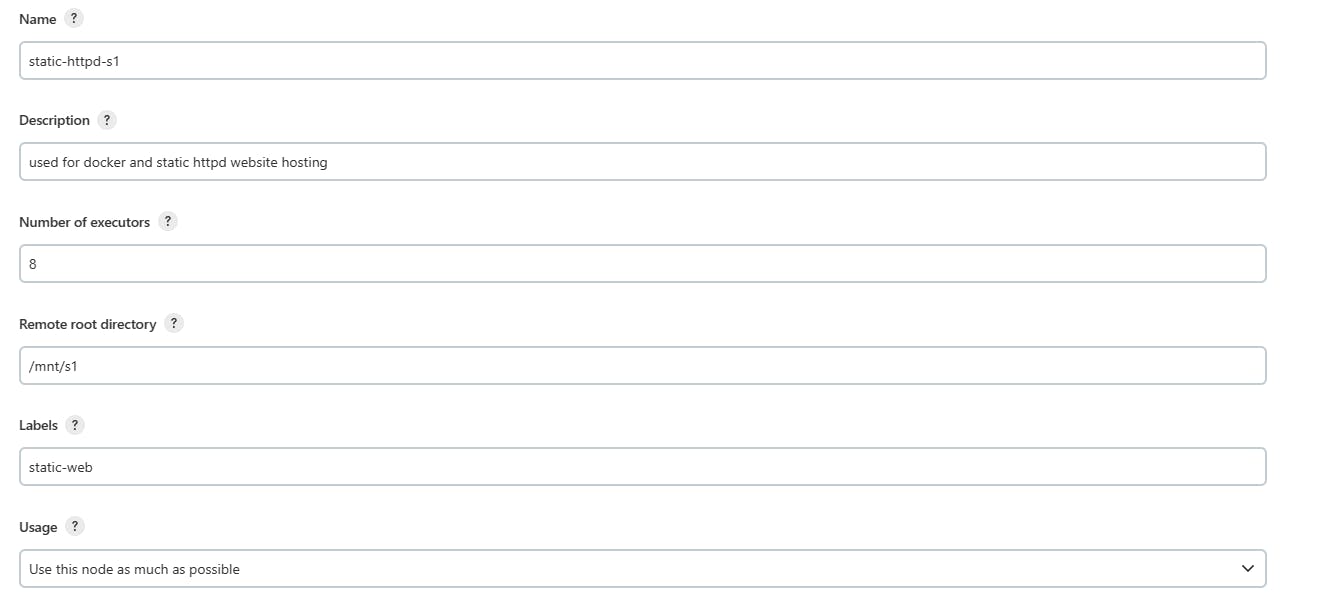
Mention the description of the node, and the number of process execution at a time, and mention the remote root directory which is the default workspace where all commands will execute. Labels are the group name of nodes to categorize the nodes. You can mention usage but I am keeping it default which is to Use this node as much as possible.
In the Launch method, we are selecting ssh because it is more secure than other options. In the host, we mentioned the private IP of the instance and added the ssh username and private key
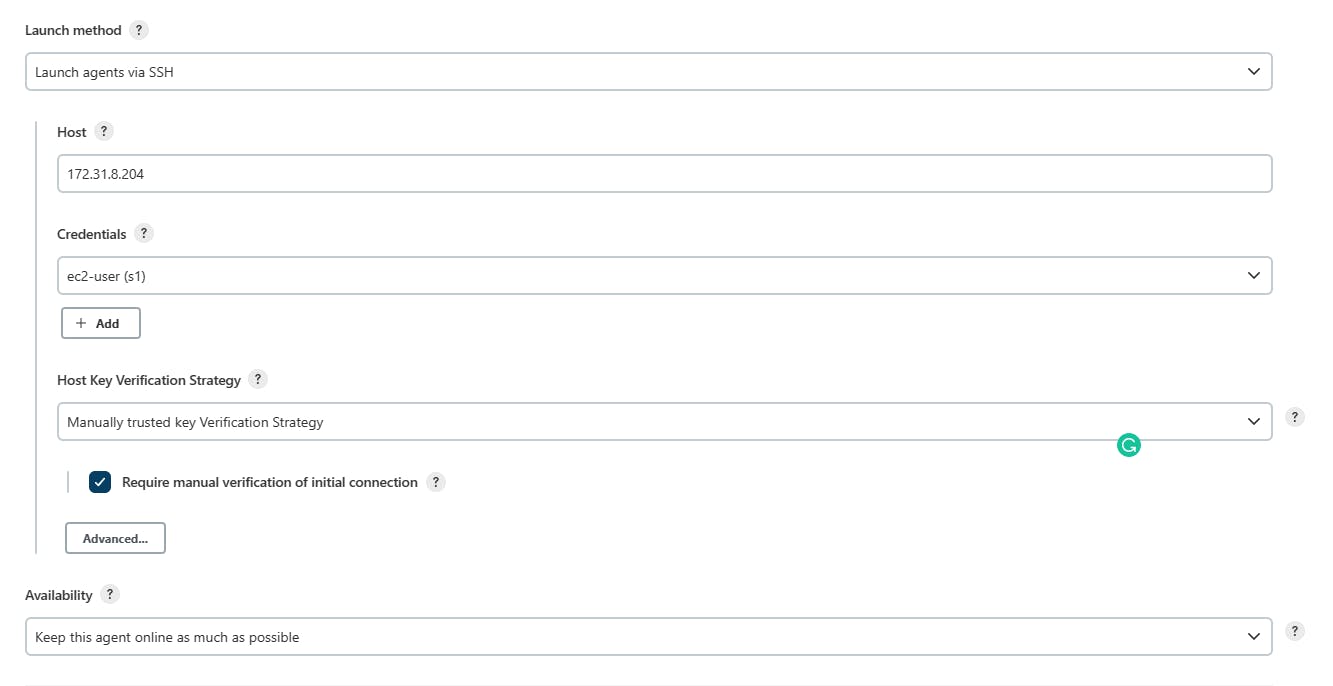
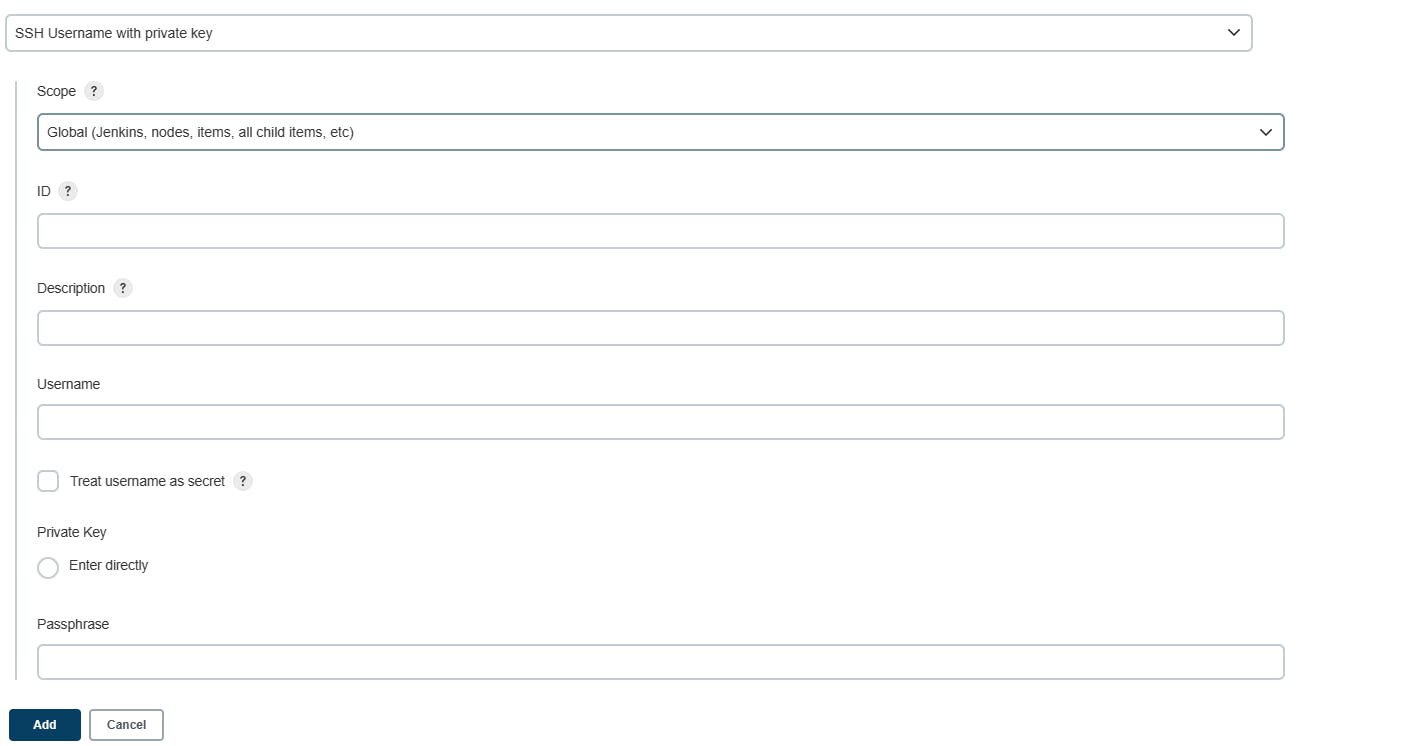
After adding the credentials. In the host key verification strategy we mention the Manually trusted key verification strategy.
Also, check the Required manual verification of the initial connection, Save it
Now click on static-httpd-s1

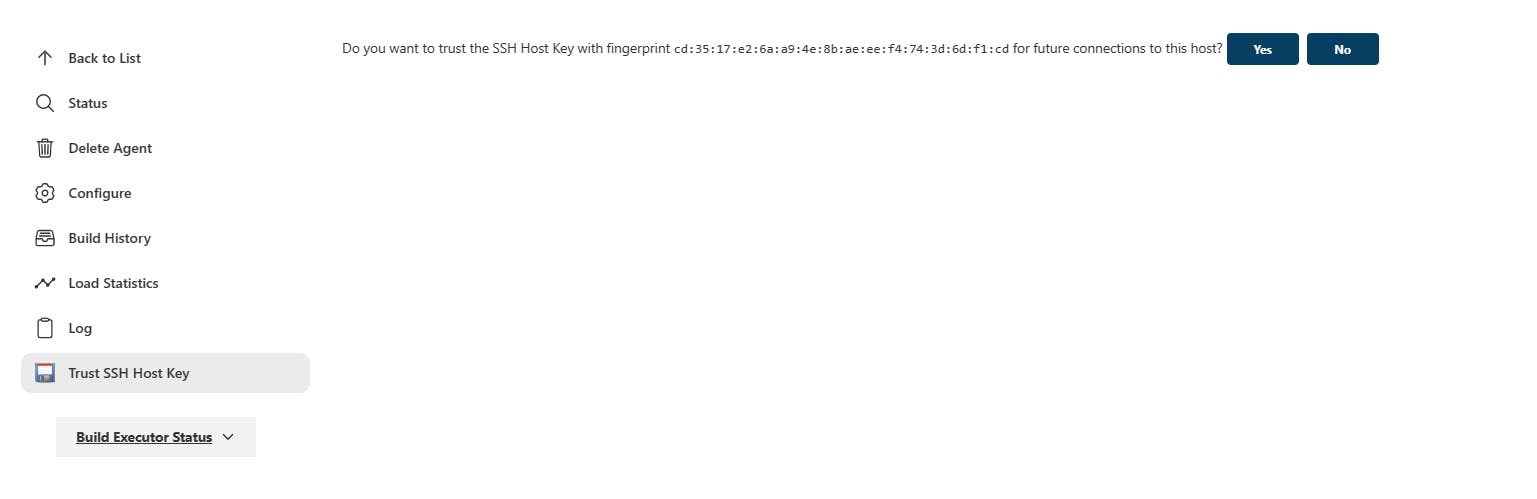
click on Trust ssh host key

click on Yes then Relaunch Agent
That's it Congratulations you successfully configured the slave/Agent/Node

Note: Another way is Java JNLP but it is not secure as compared to SSH and the major difference is the ssh connection is through some Linux users but the JNLP connection is directly associated with the root user. Another advantage of an SSH-based connection is if the instance is down and up again it automatically established the connection.